
What can I print?
Once you’ve got a printer, you’ll find that you quickly want to learn how to design 3D models in software like Blender or OpenSCAD.
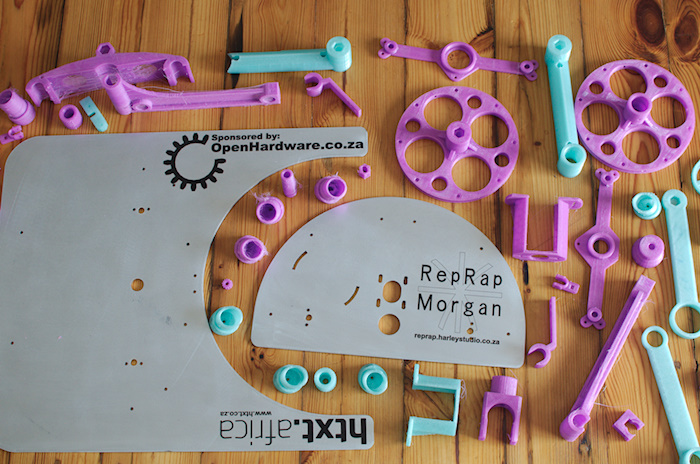
The first thing you’ll probably want to print, however, will be a complete set of spare parts for your own printer, just in case something breaks. You can download Morgan’s schematics from here.
After that, you’ll want to get started with some designs other people have made. The largest repository of 3D printable files is over at Thingiverse (owned by Makerbot). Everything from jewellery to vases to Doctor Who chess sets is available for free from there.
How do I print?
How do you get your virtual model into the brains of your printer? It’s quite simple, but there are a number of steps to follow.
First off you need to make sure the model is in a standard format – like an OBJ file, an STL or similar. Then you need to run it through a programme like Slic3r. Slic3r stores all the settings for your printer – how fast the motors move, how wide the filament is, what temperature it runs at – and then works out exactly how the model needs to be divided up in order to print correctly.
Slic3r outputs the model as ‘gcode‘ – an industry-standard language for any computer controlled manufacturing machine. This effectively says things like ‘move x motor two rotations right, extrude 2cm plastic’. Your printer does the rest.
Sounds great – let’s get started
Yes, lets. But we’ll need to build the printer first, and for that you’ll have to wait for part two.

