
Notes from Tom:
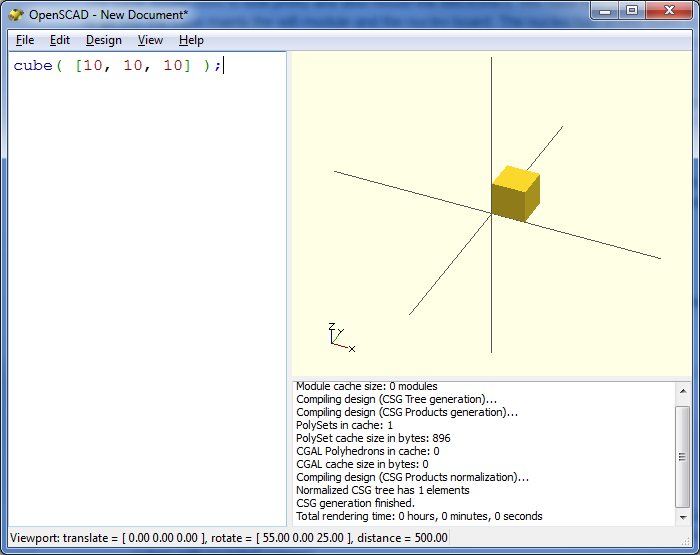
My design tool of choice is the open source modelling program OpenSCAD. I prefer this because I am a coder and not a designer (can’t draw anything to save my life). OpenSCAD lets you design your model by using a type of scripting language.
 The base would need to look pretty and also house the electronics. We have two main modules that need to go into the base mainly the WiFi module and the Nucleo board. The Nucleo has screw holes so that should be easy to mount, but the WiFi module has no screw holes so I designed a small bracket that would hold it into place.
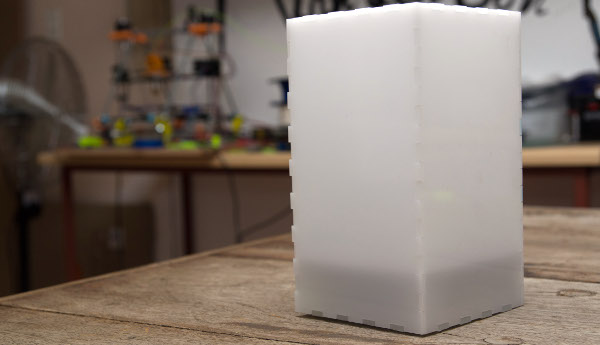
For the main lamp shade I decided to lasercut a box from white semi-transparent acrylic that would fit on top of the 3D printed base. This specific color acrylic diffuses the light from the LED’s nicely to give an even color.
 One of the great things of using script based design tools is that there are lots of great scripts already out there for you to use in your project. Change a few parameters and you have a new custom design. For this project I used the following scripts:
- Arduino OpenSCAD Model Library (http://www.thingiverse.com/thing:18139)The nucleo use the same screw hole dimensions as the Arduino, so changing a few lines of code and we have adapted the model to the same dimensions of the nucleo
- Rounded Cube Module (http://www.thingiverse.com/thing:275033)OpenSCAD does not have a built in support for creating cubes with rounded corners. Cube’s with rounded corners does give a much more cleaner look so I use this openscad module to create my cubes with rounded corners.
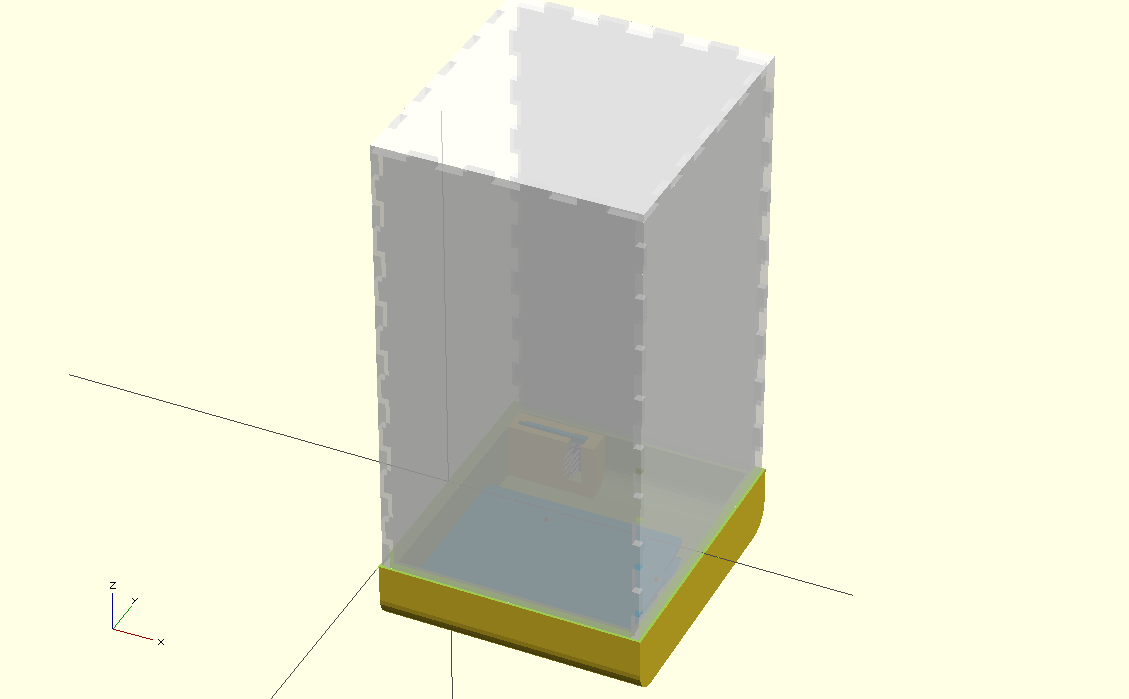
- Parametric lasercuttable box joint box (http://www.thingiverse.com/thing:27736)This OpenSCAD script is an easy way to create a laser cuttable box, just specify the width, length and height.
The reason I created a model of the Nucleo (and the WiFi module) is to make it easier to design the base. I can use the model to create the mounting holes and also to make any spaces in the structure to fit the electronics exactly.
I started the print on my 3D printer and discovered a few hours in that while my design does work and looks pretty good, it does take a while to print (3-4 hours). While this is fine for a once-off print for a project, it was not really going to work when we have to do 10 to 20 prints for our members.
 I needed to simplify the design, while still make it look good. I decided to ditch the base completely (Yes, sometimes you need to ditch a design and start again if you don’t meet your goals). Instead of having the box as just the lamp shade, why not create the complete lamp out of a laser cut box. We could put holes for the Nucleo in the box itself and then design and print a bracket to hold the WiFi module in place.
 [All images courtesy Tom Van den Bon/Binary Space]

