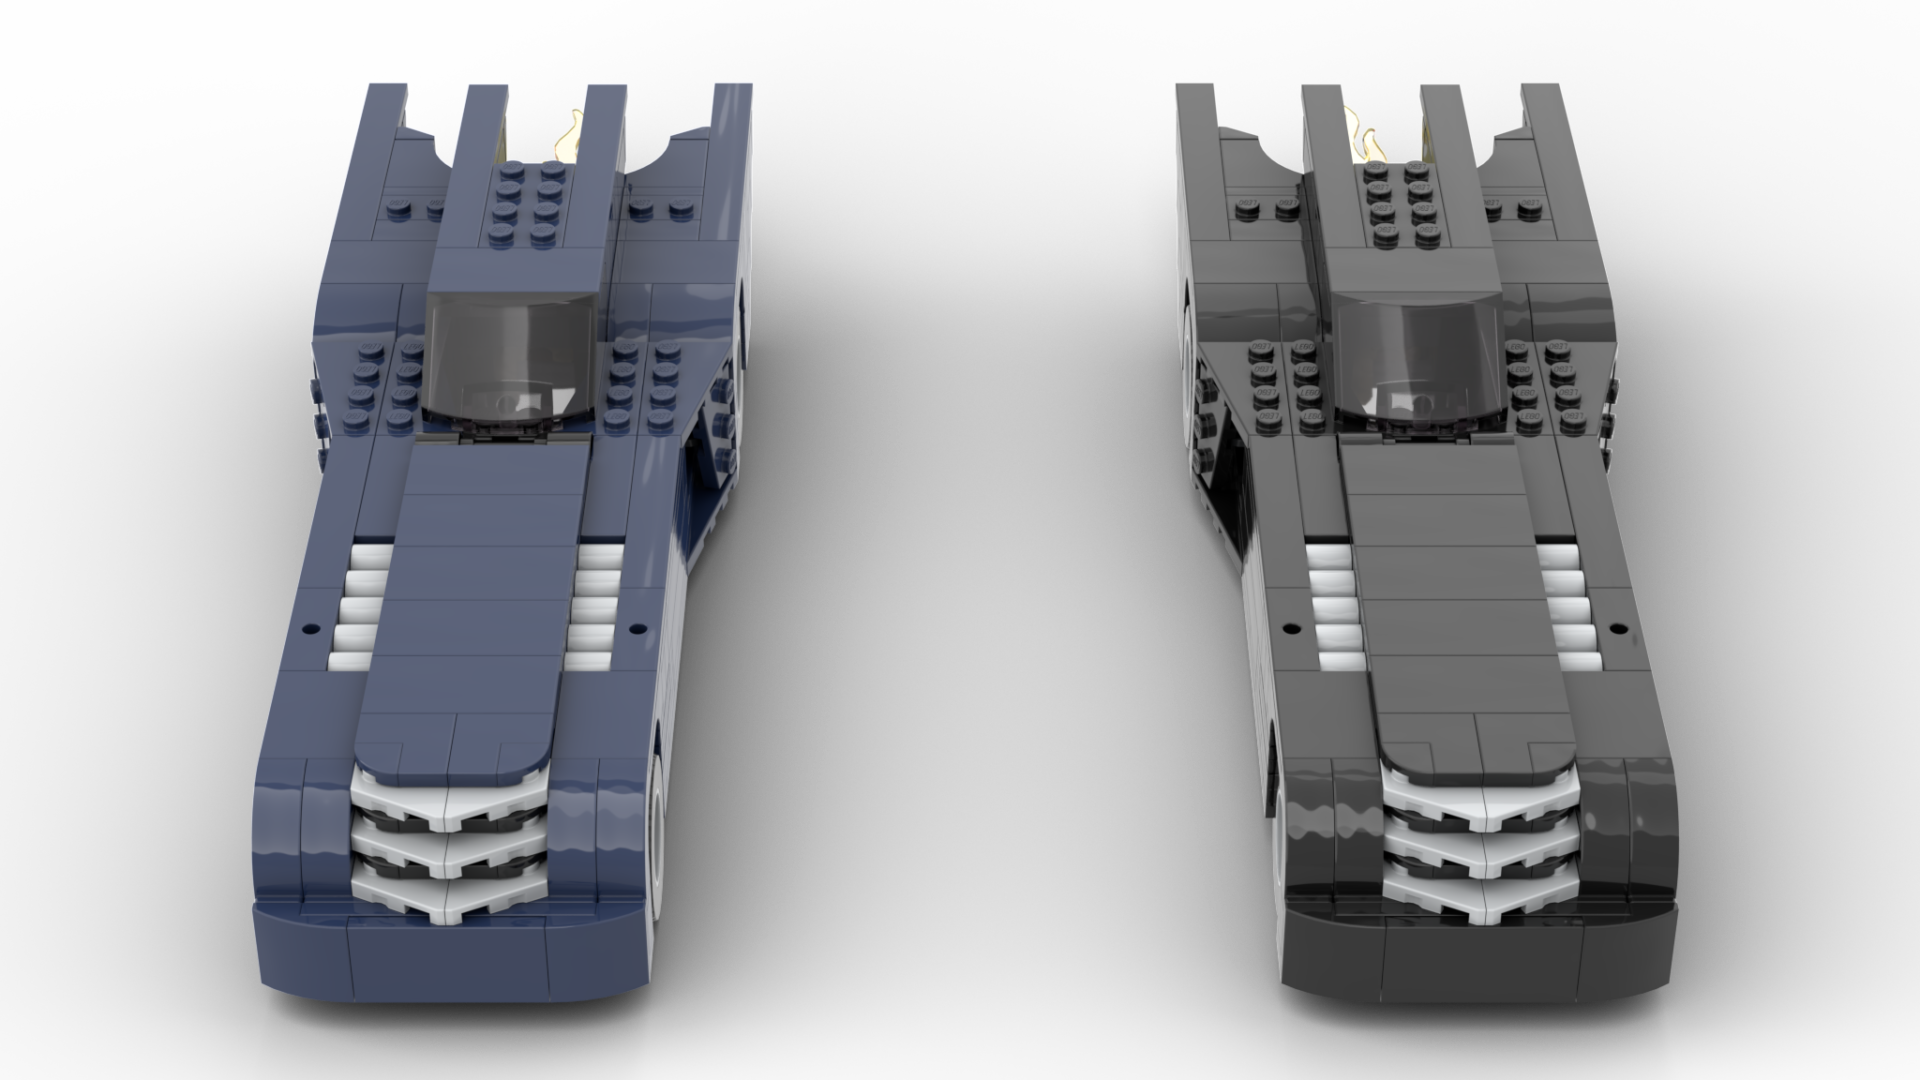
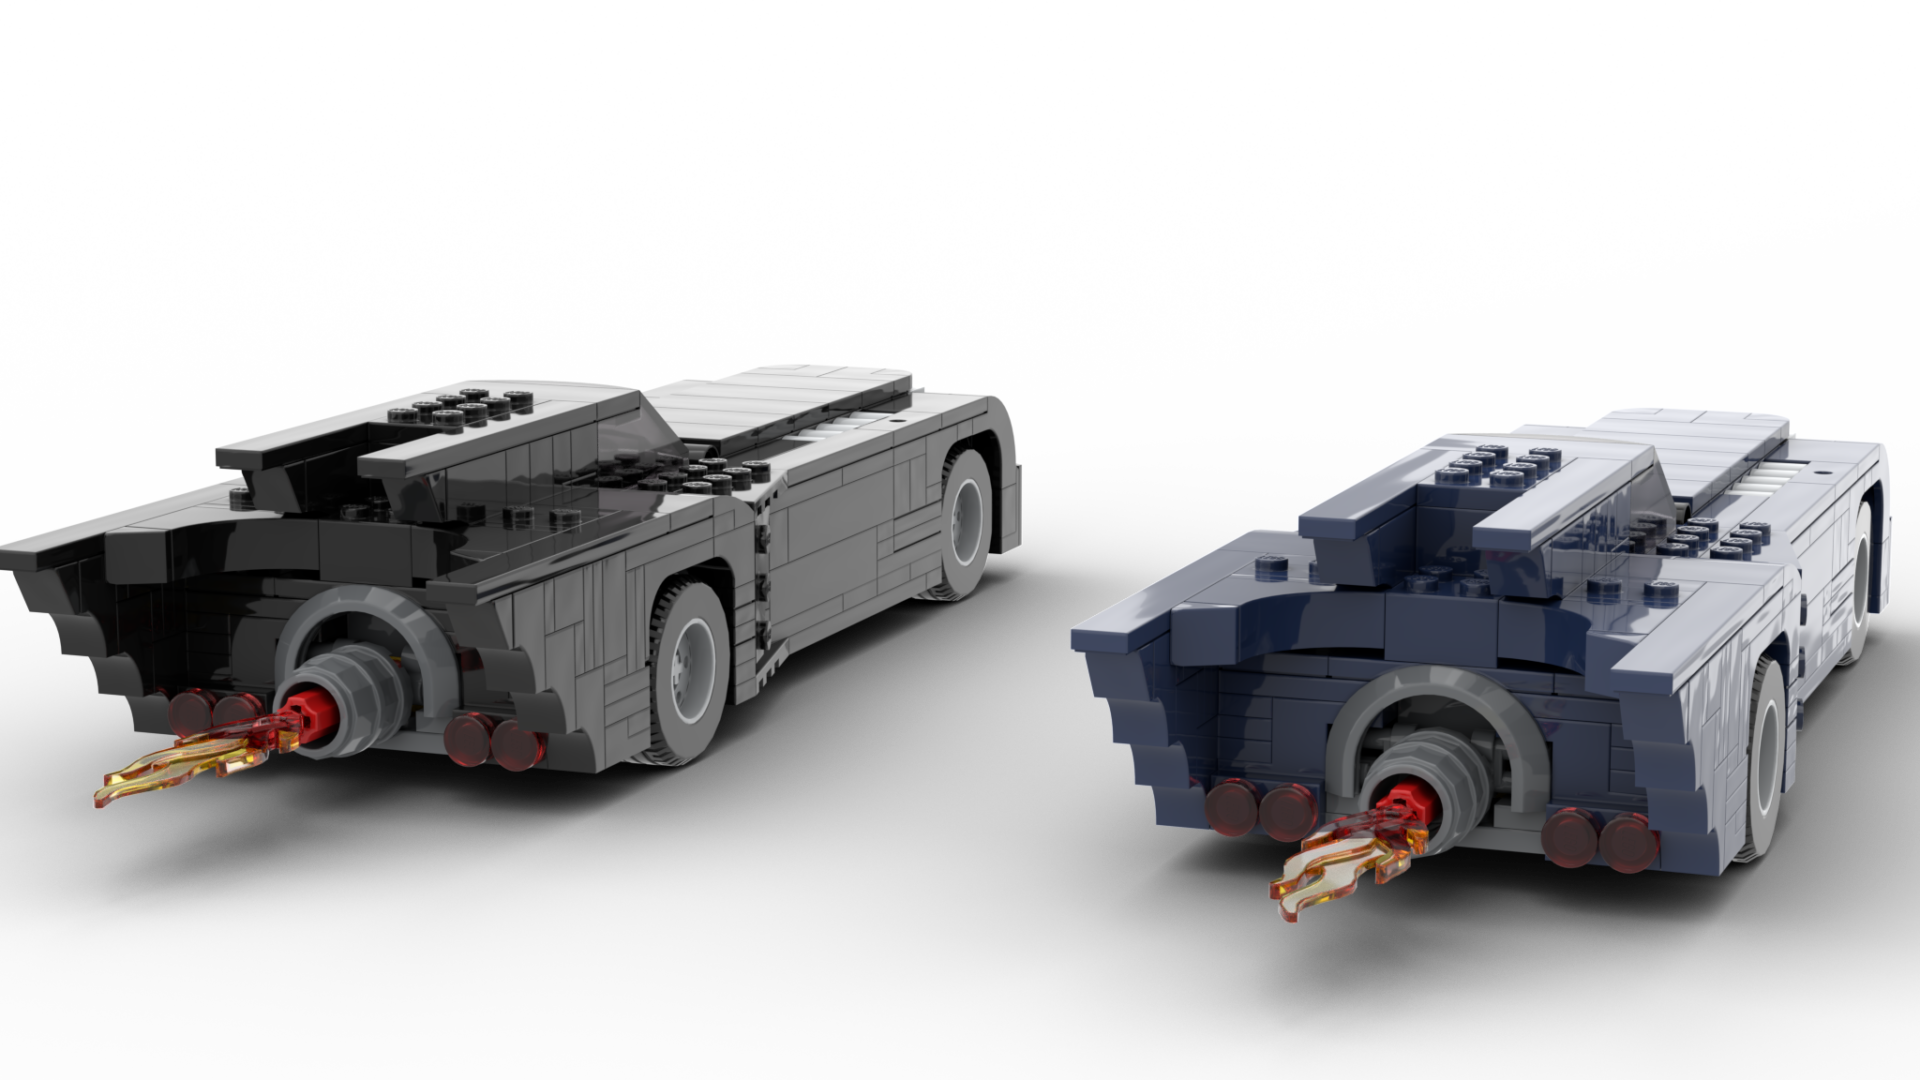
On 1st June, LEGO broke a decade-long streak of releasing black Batmobiles with set number 76274. Along with an incredibly long name – “Batman with the Batmobile vs. Harley Quinn and Mr. Freeze” – the set also stands out for its choice of colour in dark blue instead of black. Hell even very, very dark grey would have worked, according to LEGO Batman.
Many speculate that the reason dark blue was chosen is because this specific Batmobile is based on the one seen in the Batman: The Animated Series. While LEGO sometimes borrows heavily from the history of Batman to make its own unique Batmobiles, this is 100 percent an Animated Series toy as the included plaque points this out, and the three included minifigures all have their designs based on the show.
On that front LEGO isn’t even the first toy company go with a dark blue over black for this Batmobile. The Mezco Toys version, for example, is dark blue too. Despite LEGO not being alone in this decision, many still stand by the fact that black is the colour that should have been chosen.
In Batman: The Animated Series, dark blue highlights are sometimes used on the Batmobile. This isn’t because the Batmobile is any shade of blue, but instead, this is an artistic shading choice to break up the large black object on the screen and to give it more definition. It’s the same reason that all-black character Venom is also routinely drawn with a lot of blue in his design.
On the other side of the coin, there is also the argument that LEGO is simply trying something new out, despite knowing that black is the proper colour. Regardless of the reason that dark blue was chosen, many have been asking: can we rebuild this set in black?
This is what I have been working on ever since the PDF instructions for the set were released recently. Around the time of the public release LEGO will make digital instructions of their sets available for free online. I used these instructions, and the free LEGO CAD software Studio, to remake the set one brick at a time, swapping out all the blue for black. This is what it looks like compared to the original dark blue version:


At this point I can report that, yes, it is possible. Thankfully every single piece in the dark blue colour in this set has a black counterpart that has been made available at some point in the future.
All you need to do to make a black version of this set is to follow the below instructions.
- Go to the parts list I made for the black version of the set.
- Gather the parts from the parts list.
- Go to the free online PDF instructions for the original set.
- Take note of the “sticker problem” section later in this article.
- Stickers are applied for the headlights on page 35, and the cockpit stickers are applied on pages 46 and 53.
- Follow the instructions, replacing the dark blue pieces with black as you go.
At this point, it is worth mentioning that I only swapped out the dark blue pieces in this set. The grey pieces which you can see on the bodywork, as well as some other non-dark blue pieces, were left as is. You can go further in completely blacking out your Batmobile but the sections of grey do help give the build some definition.
My parts list does build the two-option stud shooting accessories that go on the hood of the Batmobile, but it does not include the stand and plaque.
The Batmobile sticker problem

Unfortunately, stickers are used in the original dark blue set. On the Batmobile it is seen on the front bumper (to give the Batmobile headlights) and in the cabin where three stickers are used for buttons and other controls. These we will be able to work around.
Then there’s the included stand and the aforementioned plaque. Unfortunately, we can’t work around this. The plaque’s sticker is too important for the overall look of that side build.
We can solve the sticker problem of the bumper by building in some actual headlights using bricks. We can use transparent yellow versions of the slopes on the bumper here and, while these will give the impression of larger headlights, they still work great, as you can see in the image above. Given that the transparent pieces are backed by black pieces, the effect in real life will also shrink the perceived size of the lights.
To make this version of the bumper: replace the two black 2X2 slopes (part number 15068) with two black 1X2 slopes, and two transparent yellow 1X2 slopes (part number 11477).
For the cabin, we have to account for three stickers: two on 1X2 tiles, and one on a 2X4 slope.
For the 1X2 tiles, we can get a bit loose. LEGO has printed dozens of 1X2 tiles over the years that have various control levers, buttons, displays and other “cockpit” looking decorations.
My suggestions for printed tiles to use here instead:
For the 2X4 slope in the cockpit, that’s a bit more difficult to directly replace with a printed element. Instead, we’ll use two 2X2 slopes. For those who don’t know, LEGO has a long history of printing these pieces as “computers”. The classic “LEGO computer” is a printed 2X2 slope so we’re in good company here.
Here are my recommendations for some printed 2X2 slopes you can use but remember that you will need two to replace the single 2X4 slope from the original set.
For all my suggestions here I stuck to printed pieces that are relatively common, not too expensive and stick to the black or dark blueish grey colour scheme. That being said, as these will mostly be tucked away inside of the cockpit, you can get away with using most colours. You can also get away with using plain, unprinted pieces too as you’ll rarely look inside the cockpit anyway.
