
Look, online meetings are just better than having to trudge into an office where you need to look somewhat engaged in the matter.
The trouble is that if you’re anything like us, you might drift off and get distracted while somebody is talking about something that simply doesn’t apply to you.
Or maybe they did? Oh no, now you’ve missed something important.
It’s for the above reason that we’ve taken to recording every meeting we have to revisit at a later stage and it costs us absolutely nothing.
The software we use is Open Broadcast Software (OBS) which is popular among streamers and is 100 percent free to download and use.
Now while you can realise your dreams of Twitch stardom using OBS an often overlooked feature of the software is that it can be used to record anything that happens to be on your desktop including Zoom meetings, Skype calls or the game you’re playing.
Here’s how you set that up as simply as possible.
OBS is open-source software and it’s available for macOS, Linux and Windows. Simply head to the website and download the software that matches your operating system.
While OBS is rather powerful and lets you create scene transitions and scenes to use for streaming, we’re going to focus solely on setting up the software for recording your desktop and desktop audio.
Once you’ve downloaded the software, follow the installation instructions and you should arrive at a screen that looks like the one below.
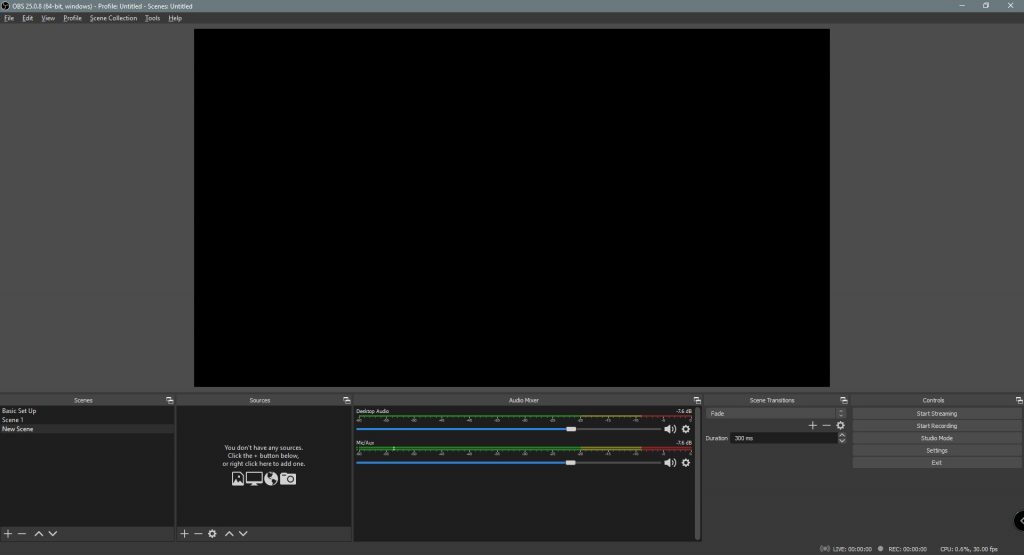
Your first port of call will be setting up a Scene. Click the + icon at the bottom of the panel and give the scene a name. This will save your settings for a particular activity and allow you to activate settings with one click.
From here you’ll want to add sources to your Scene.
OBS allows you to add a bevy of content to your Scenes including audio input, images, cameras and more.
As we’re recording our desktop we’re going to select Display Capture, give it a name and hit OK.
You will then be prompted to select which display you want to record (should you have more than one) and a preview will be shown to help you decide which display you are using. Keep in mind that this can be changed at anytime and changes will be saved to the scene.
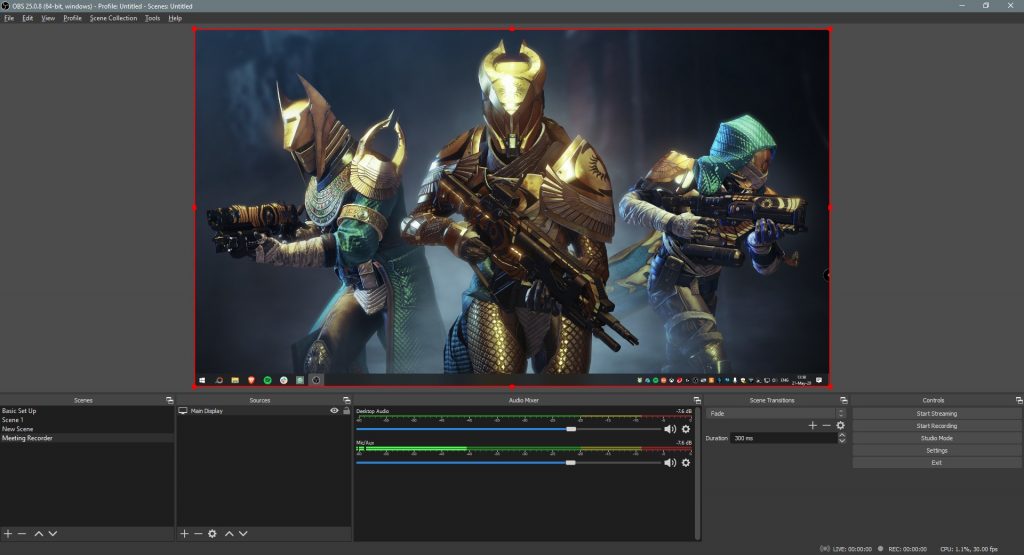
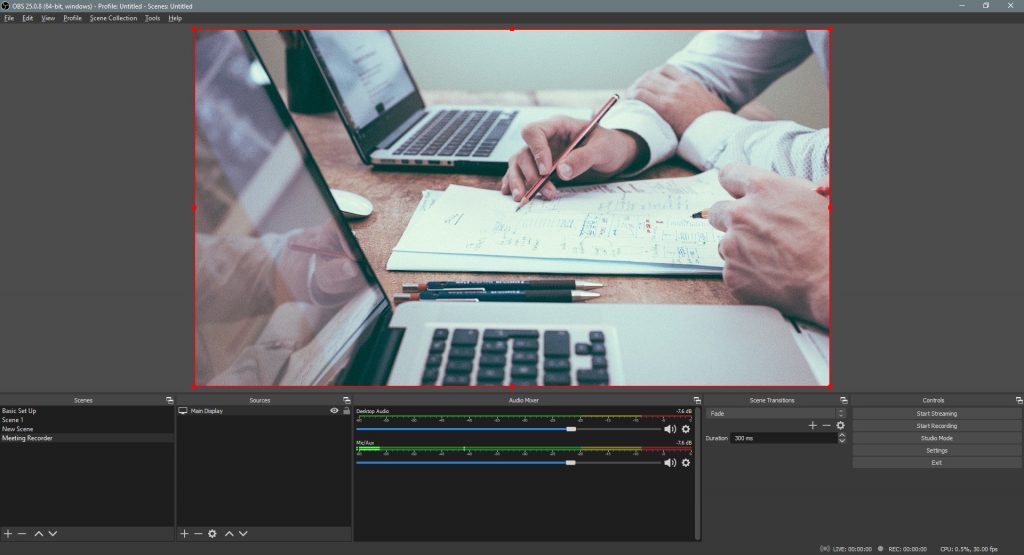
The red box around your display illustrates the area of the display that will be recorded. This can be changed at anytime should you only want to record a portion of the display.
Moving along the bottom panels we arrive at the Audio Mixer.
There is Desktop Audio as well as a Mic/Aux mixer for starters. You can add additional audio sources or outputs in the Sources panel and they will appear in the audio mixer.
To change the source of Audio Sources simply click on the cog icon, click Properties and then select the appropriate device.
It’s here that we urge you to test that your audio is being picked up by OBS. Speak into the microphone and play a song or YouTube video. If the bars in the audio mixer remain static its a sign that you may have to change the properties on your audio source.
Preparing your recording
Now that we’ve set up Scenes we can set up where our recording go and the quality of those recordings.
Head to Settings on the bottom panel and click Output.
You’re going to want the Advanced options to click Output Mode and select Advanced.
Then make sure you’re on the Recording tab and start to adjust your settings.
As you’re recording video you will want to save recordings to a drive with a lot of free storage space. Select your preferred format (we prefer .mov) and audio tracks as well as the encoder you’d prefer using.
Our advice is to stick to the H264/AVC encoder unless you are experiencing issues with that standard.
Finally change the rescale output (the resolution the video will play at once recorded) if you wish and hit Apply.
It’s at this point that we recommend testing the recording. Throw up a YouTube video, speak into your microphone and make sure everything is working.
When you need to record simply fire up OBS, make sure your settings still match up and you should be ready to record.
We recommend letting folks know that you’re recording them when you do start recording and also making sure that you don’t post these videos without permission. If folks would rather you don’t record them, simply toggle the display on or off in the Sources panel and record audio for your own records.

