
Our next piece of kit that is joining the Hypertext Test Bench has arrived and it’s the largest piece of kit we’re expecting because it’s the chassis. Once again we want to say a heartful thank you to Gigabyte South Africa who has been hard at work organising components for this test bench including this chassis.
We’re using the term chassis because the Cooler Master Masterframe 700 is both a test bench and an open-air case.
We opted for this chassis for two reasons. The first is because it’s a test bench and that allows for the easy addition or removal of parts. Anybody who has built a PC can attest to the fact that building a PC can be a labourous undertaking and that’s labour we don’t need while testing. The second reason we opted for this chassis is because when its not in use we can pop on the tempered glass panel and leave it up as a display piece.
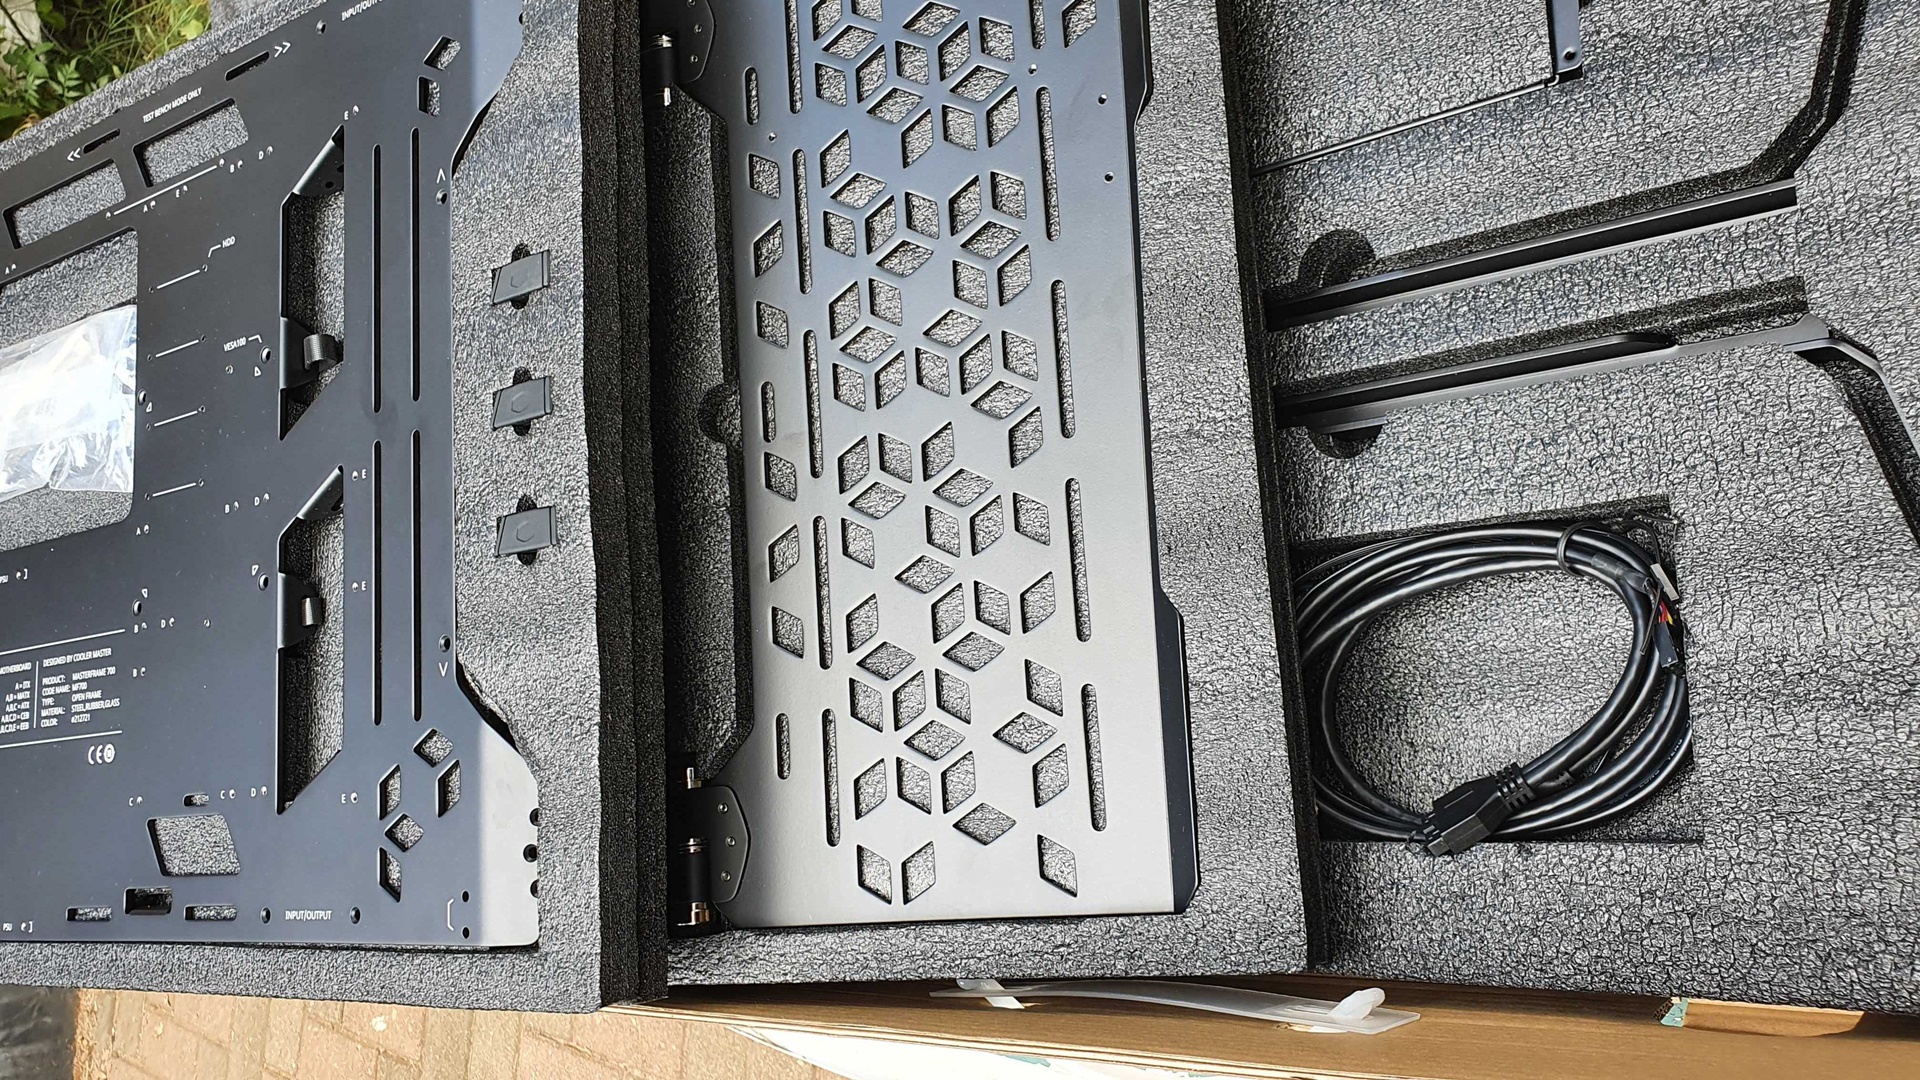
This chassis is huge which makes construction a bit of a chore. Yes, you will need to build this chassis up. The instructions included could be a bit more clear but we are muddling our way through things as we await our other components.
Cooler Master has insured that as many motherboards as possible are supported here including server motherboards. While we don’t anticipate getting any server motherboards in for review, it’s always nice to have the ability to have the option should we need it in future.
The Masterframe 700 features ample room for components and fans (with the panels attached) as well as a dedicated bay for a power supply and 2.5 or 3.5 inch storage drives. There is also an included I/O panel with a power switch for easy power cycling.
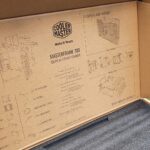
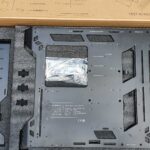
We do want to give Cooler Master some feedback as regards its packaging. The packaging itself is fantastic with each component protected from bumps and scratches by foam. Our big problem here however are the instructions. While everything is visual, there are two sets of thumb screws and the images don’t really make things clear. We fussed with the side panels for 45 minutes before realising we had them on the wrong way around. Instructions then could use some work.


We are still waiting for a handful of components before we complete this test bench so next week we’ll be taking a closer look at our power supply unit. If you missed last week’s story you can find that here.

