

At the end of 2023, mere days before 10497: Galaxy Explorer retired, I released free instructions to turn that set into a Classic Space X-wing. In that article I discussed the many similarities between LEGO’s old space themes and Star Wars so, when LEGO went back to that well and released 10355: Blacktron Renegade at the start of this year, I knew it was time to make another alt build.
This time it’s the Y-wing bomber and, just like the Classic Space X-Wing, this was made using only one set. If you want yourself a Blacktron Y-wing you need just one copy of 10355: Blacktron Renegade.
This time, however, I have gone one step further. Traditional LEGO alternative builds / alt builds – where you turn one set into something else entirely using only pieces from that set – usually require that you completely dismantle the original “donor” so you can build the new model. For the Blacktron Y-wing, however, that isn’t the case.
10355: Blacktron Renegade is a unique set because of its modularity. There’s a central “body” of the vehicle, but you build many separate modules that then connect to that body using a bar and clip system.
For my Blacktron Y-wing, you can keep the modules assembled. All you need to do is take apart the central body as well as the small wheeled vehicle that also comes in the set. The central body of my Blacktron Y-wing will be 100 percent compatible not just with the modules but also the small robot that comes in the set (this takes the position in the bomber where you’d find a droid) as well as the two “Energy Pods” that fuel the crafts.
If you already have the Renegade built, you don’t need to take it apart entirely and you can leave the following items as they are. If you haven’t built the set yet, use the official instructions to build the following:
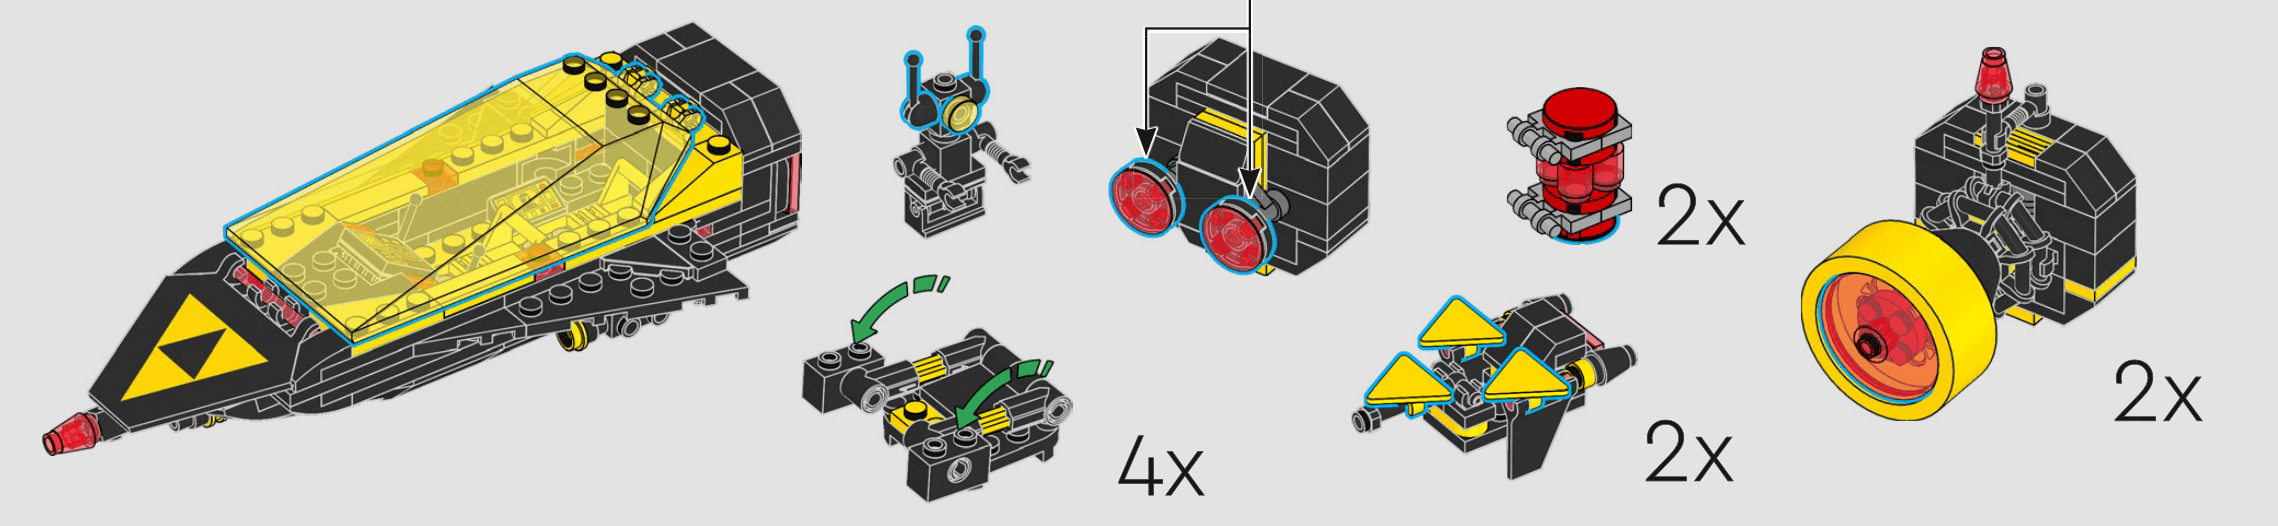
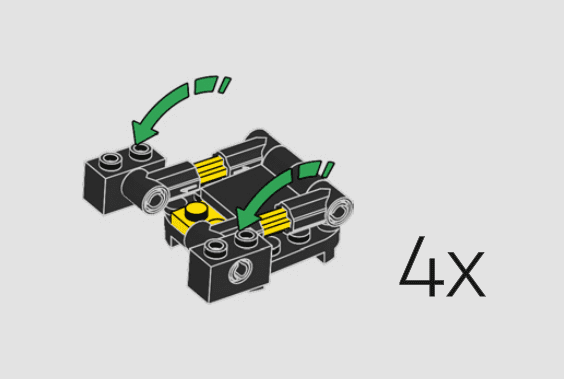
One exception here is the four copies of the landing gear subassemblies. Those can be left as is, but my instructions will also cover how to build them as they form part of the main assembly, instead of simply being added on at the end as separate modules.
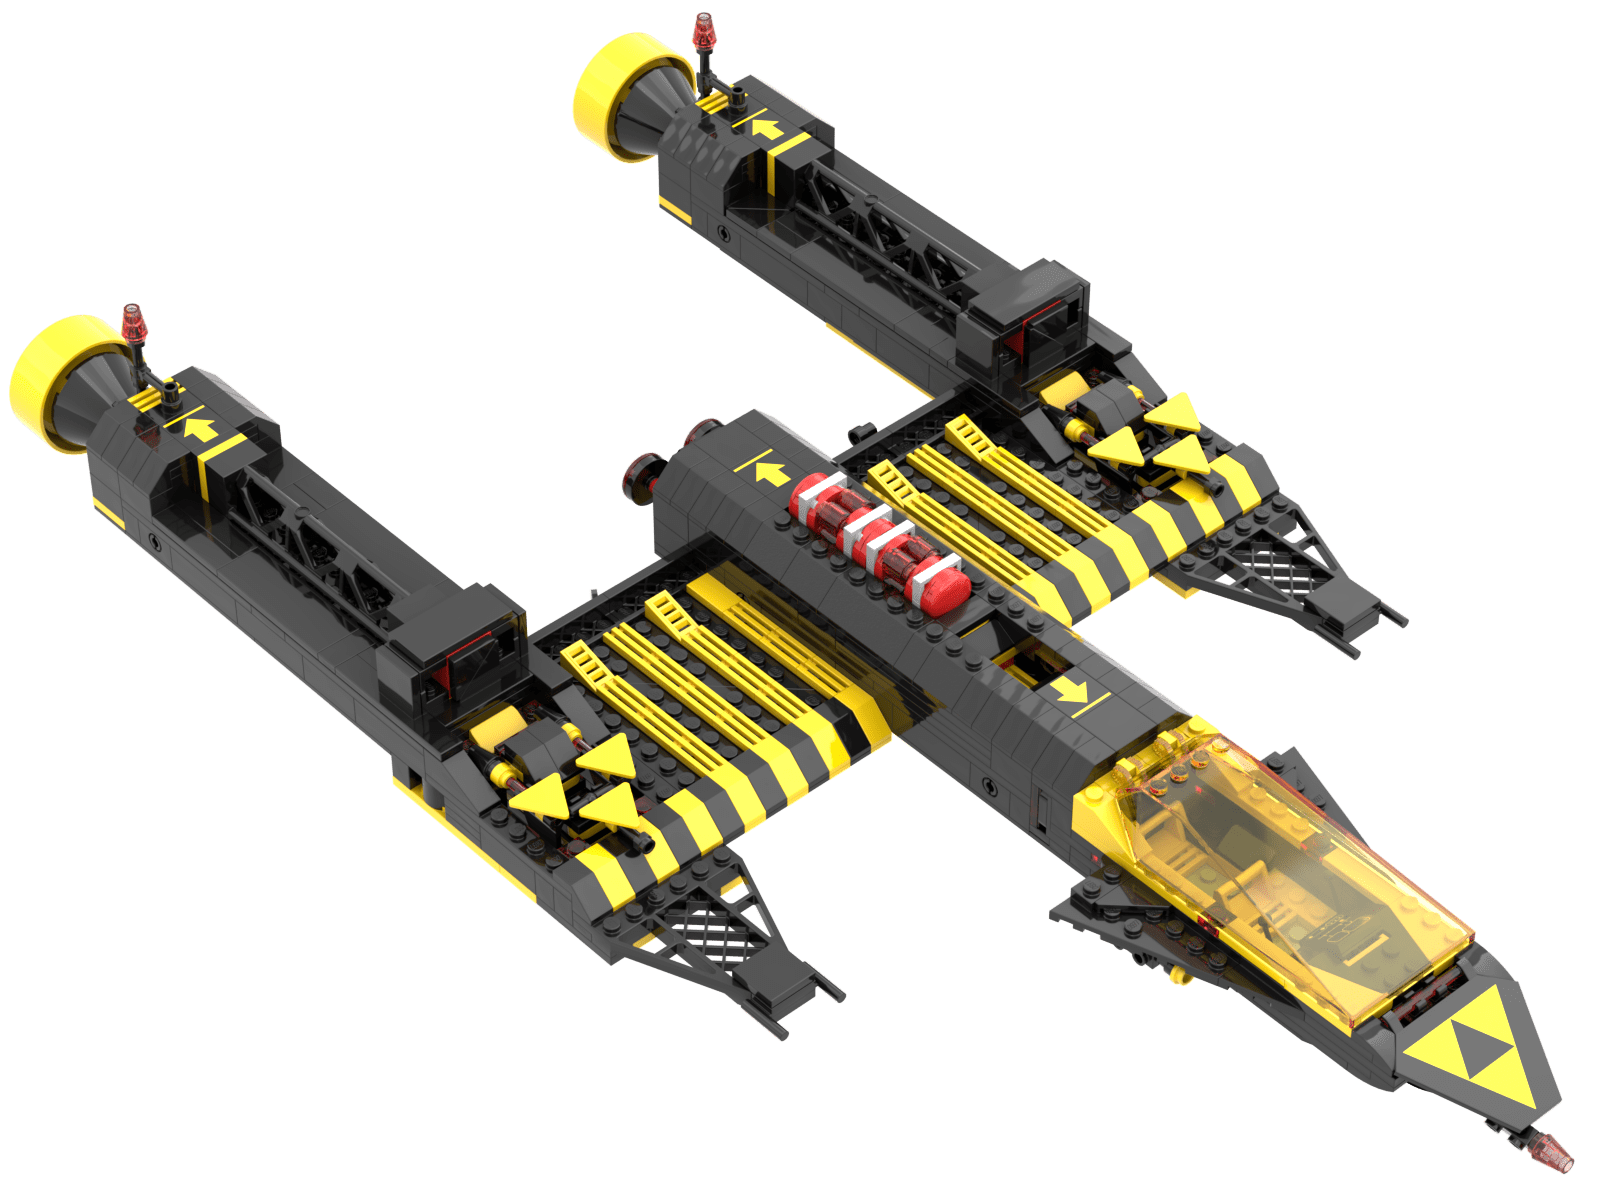
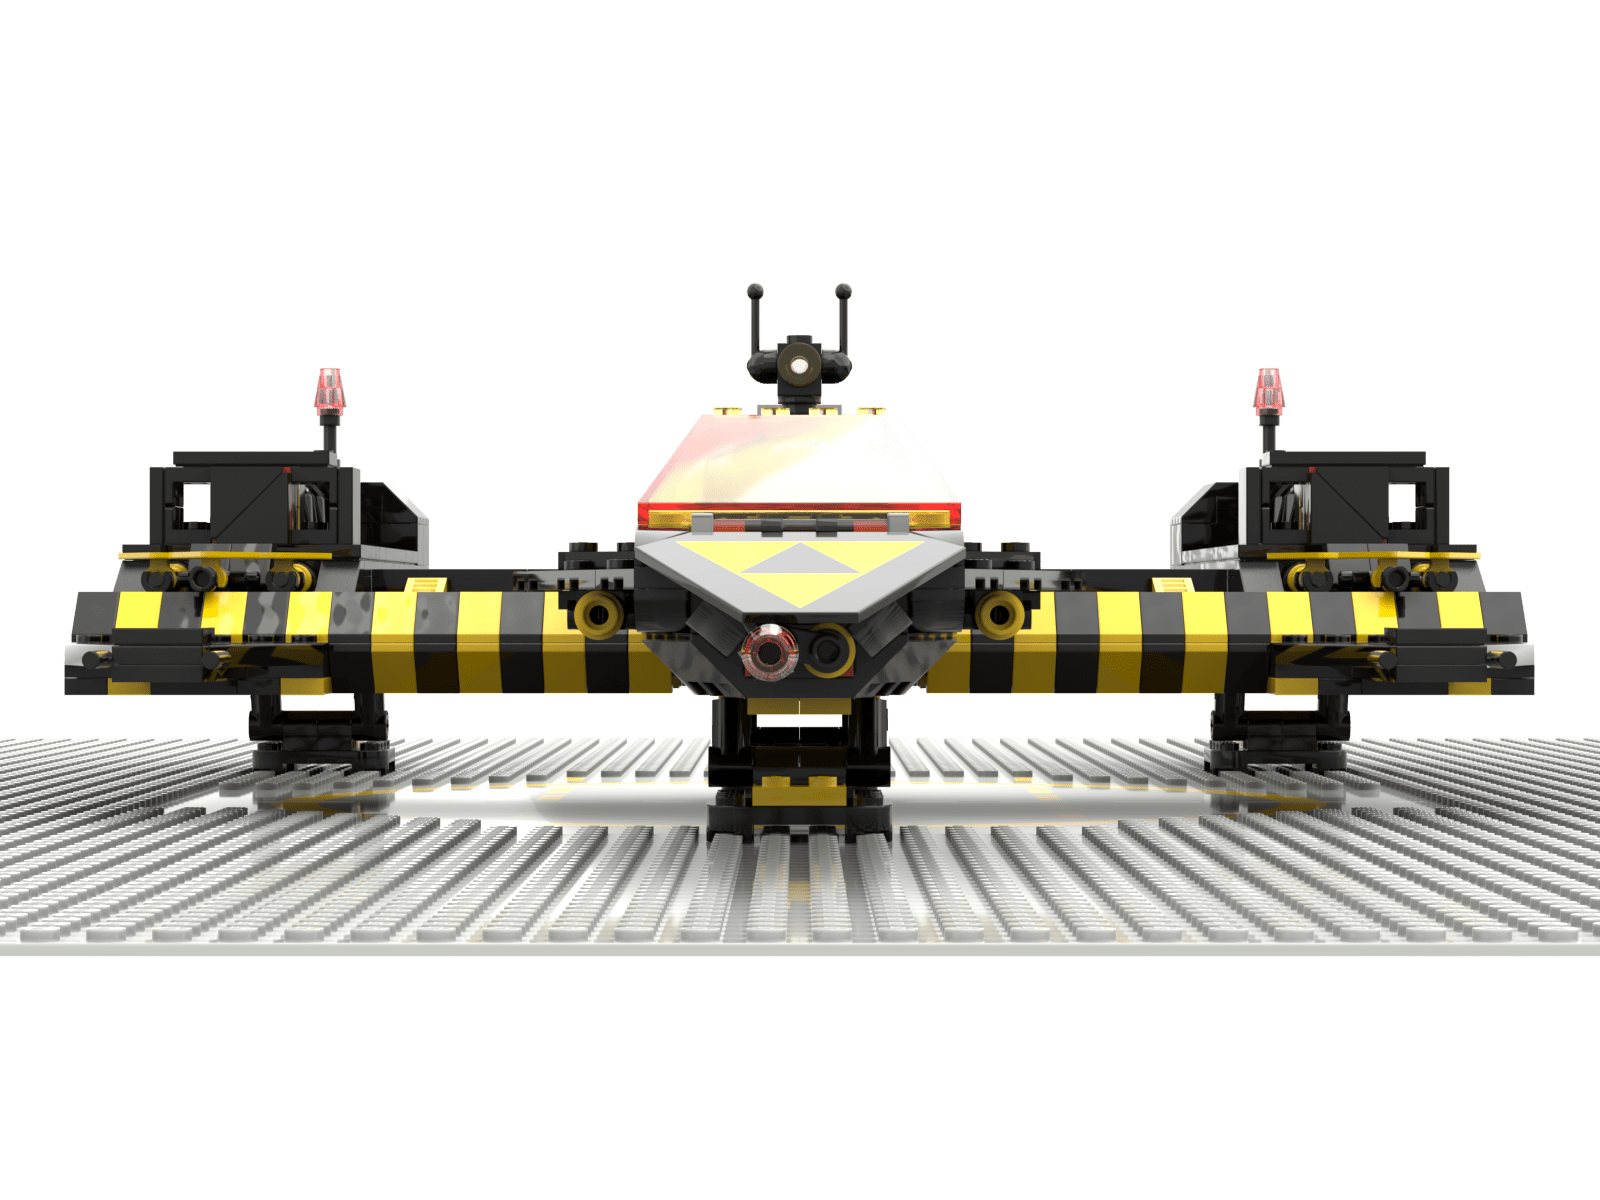
With the project preamble out of the way, I can share the final results and then we can circle back to how this all came together.
The free parts list and instructions for the Blacktron Y-wing can be found on alt build sharing site Rebrickable. The instructions, albeit compressed, to reduce the size of this page, can be found embedded at the end of this article.
I am really happy with the final result, its likeness to the Star Wars inspiration, the overall size here and the fact that I made maximal use of the pieces of the donor set.
The Y-wing shape is a deceptively difficult structure to make, especially with limited parts. On top of this, for all the free LEGO instructions I give out, I try to make them as strong as possible and on par with LEGO’s own standards for rigidity.
Most of the redesigns happened here as I tried to reinforce every single piece of the build and I can happily say that the structure is surprisingly rigid given all its long extensions coming off of the main structure.
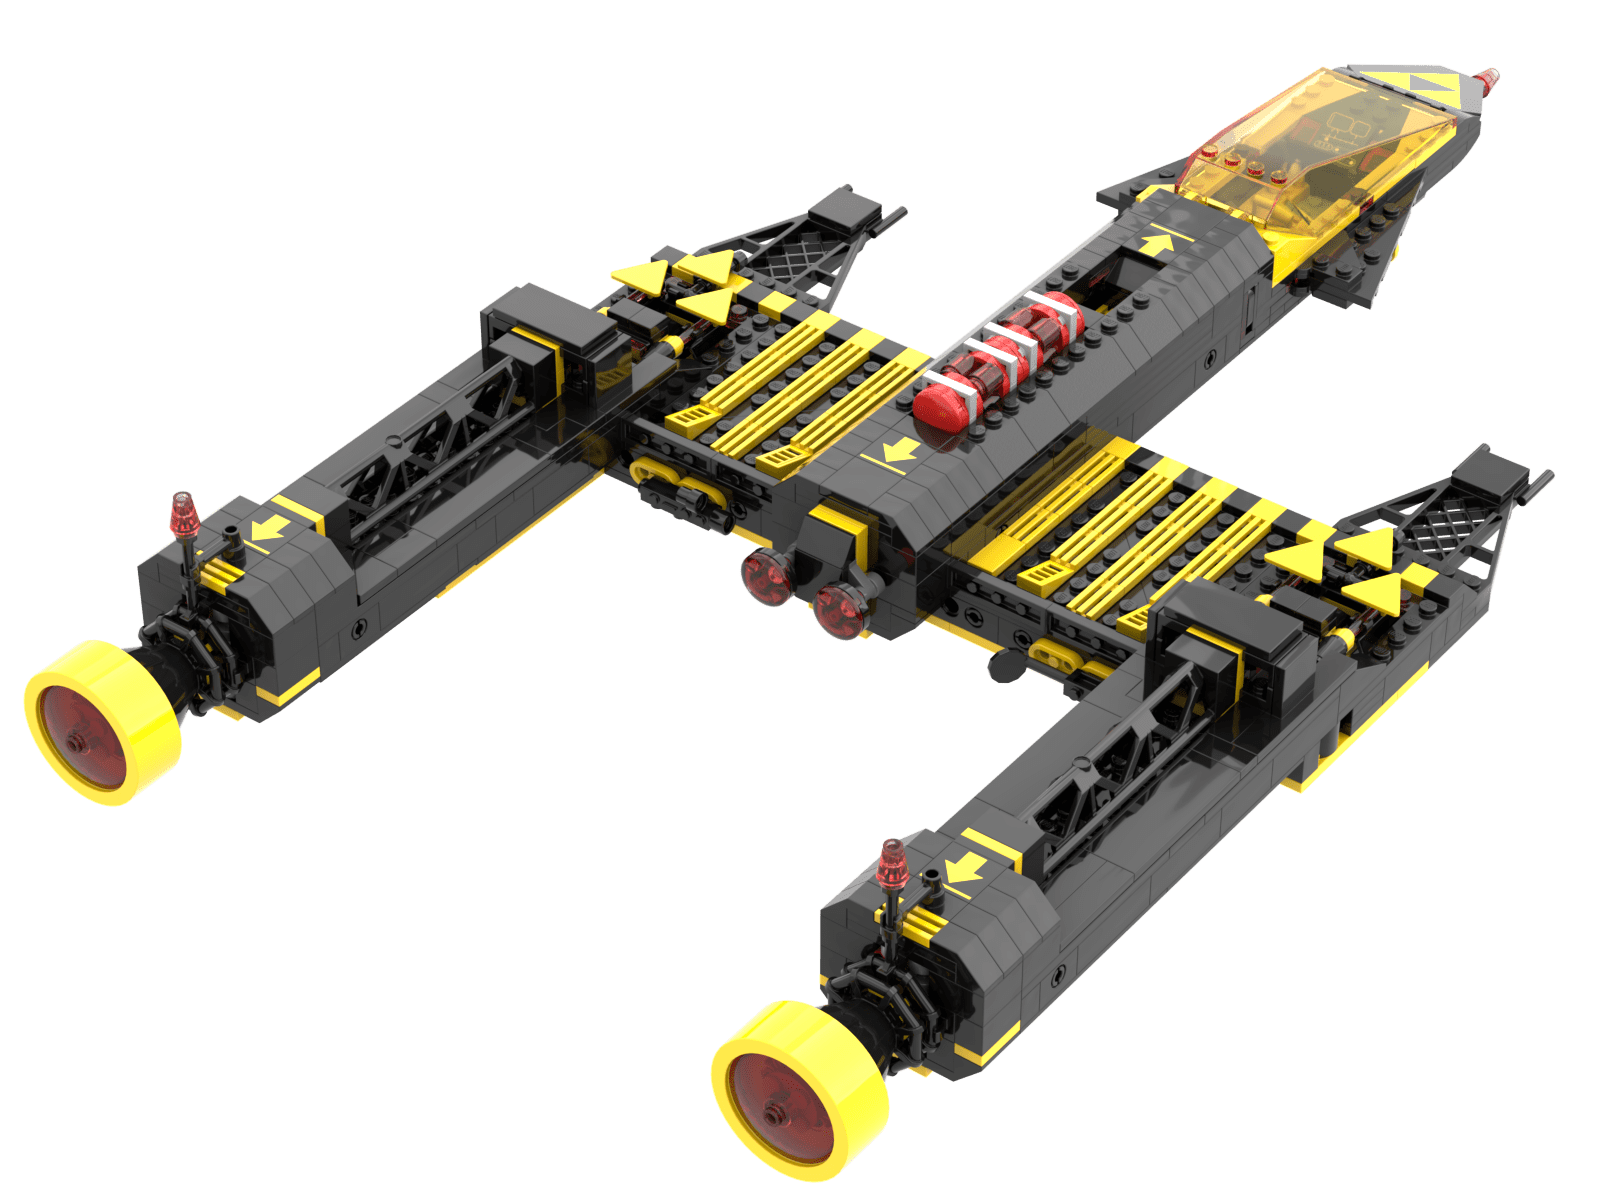

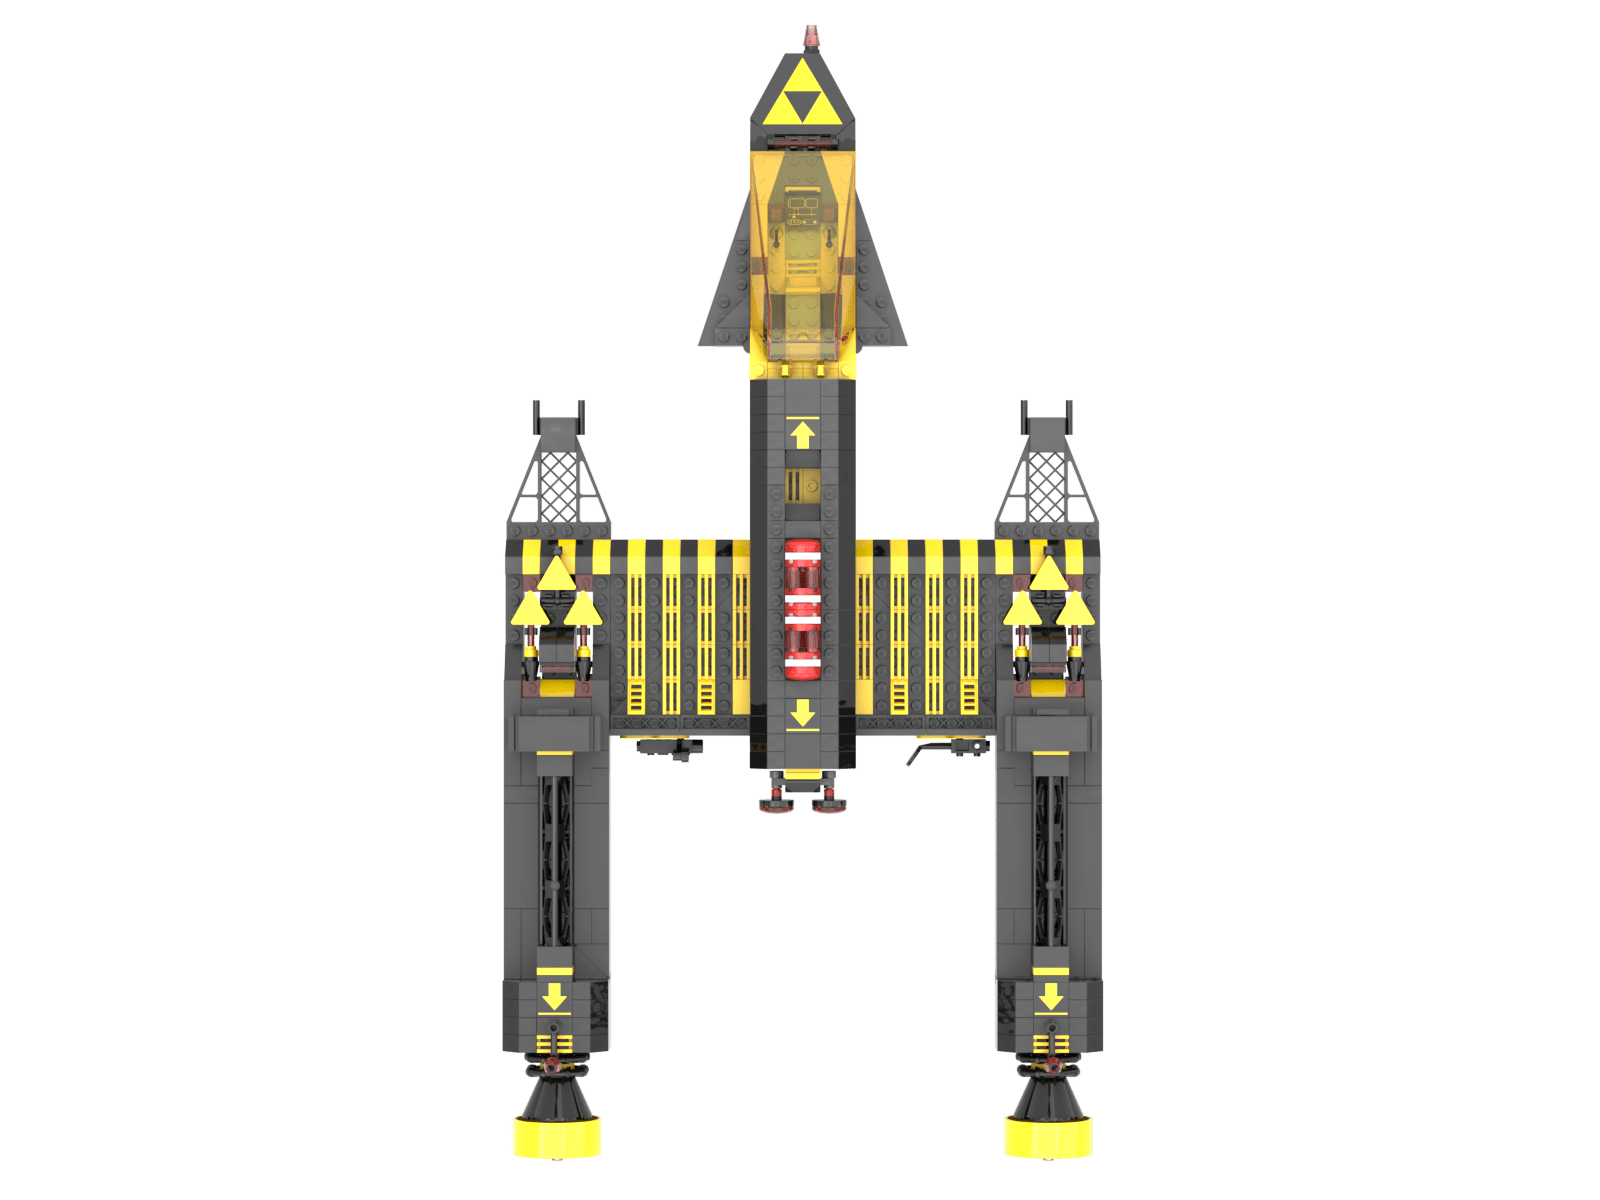
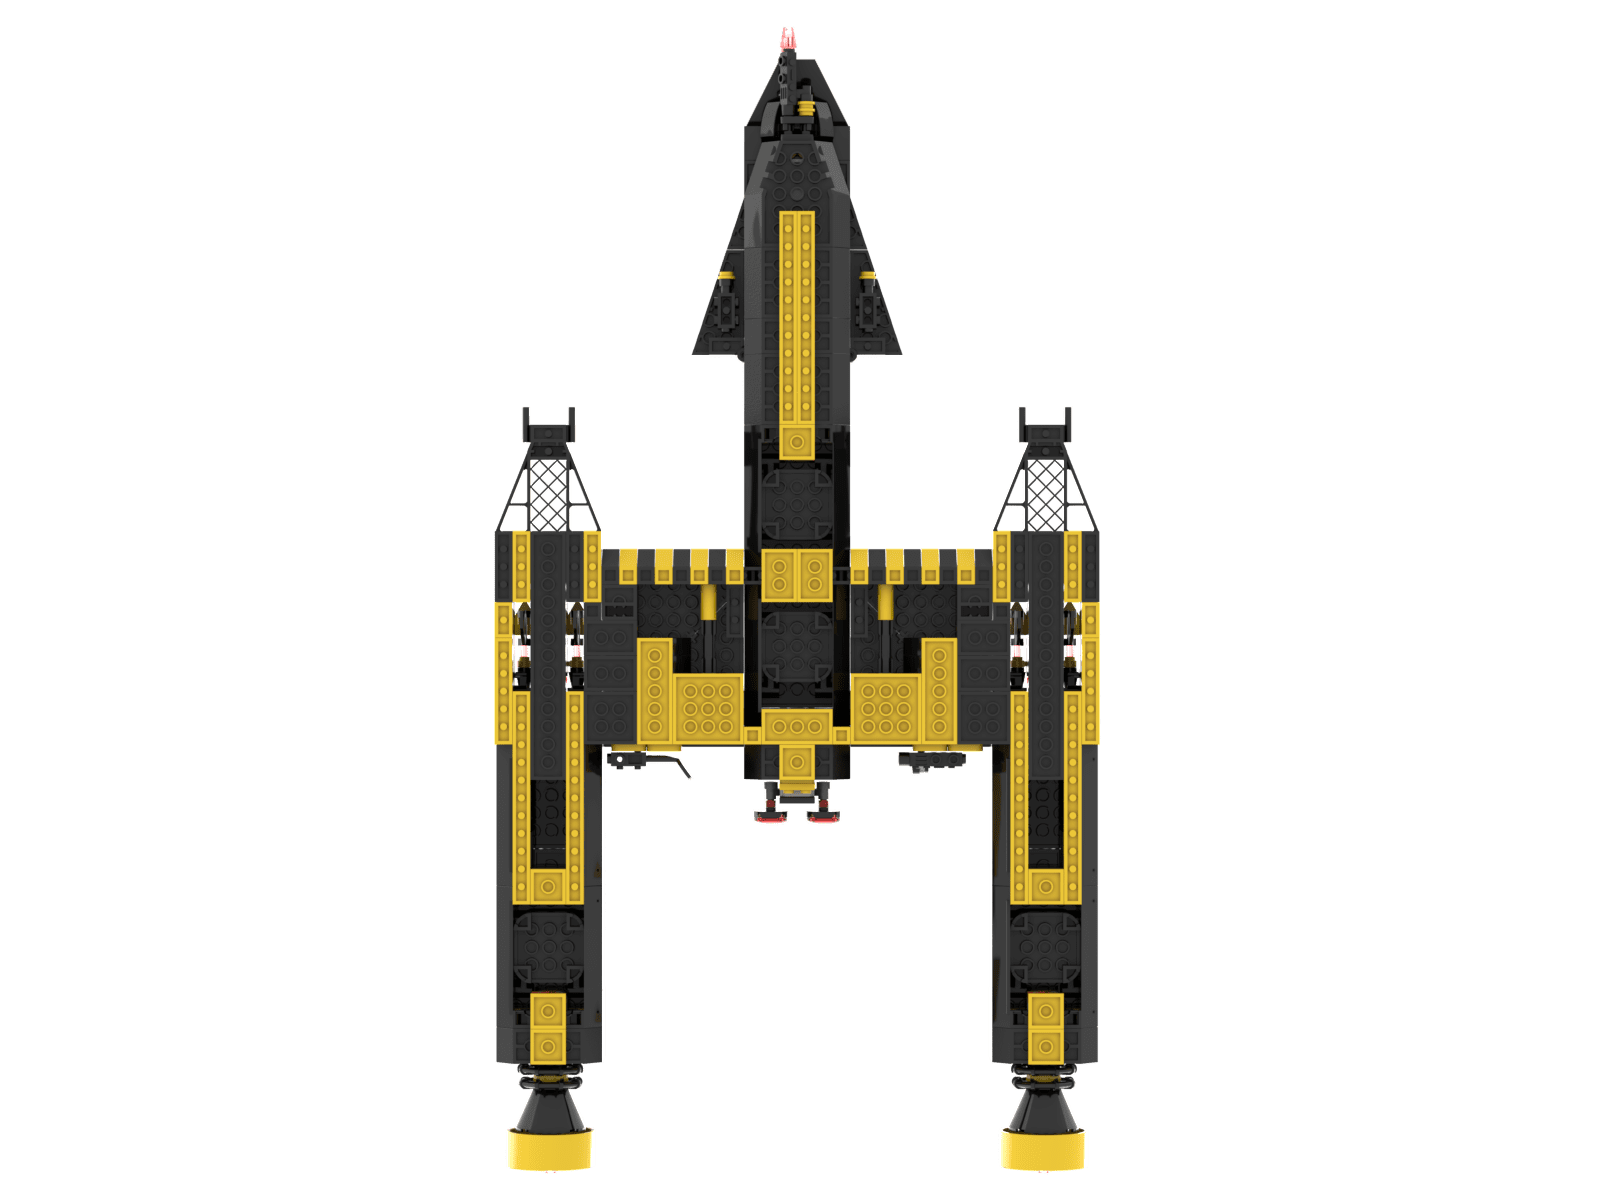
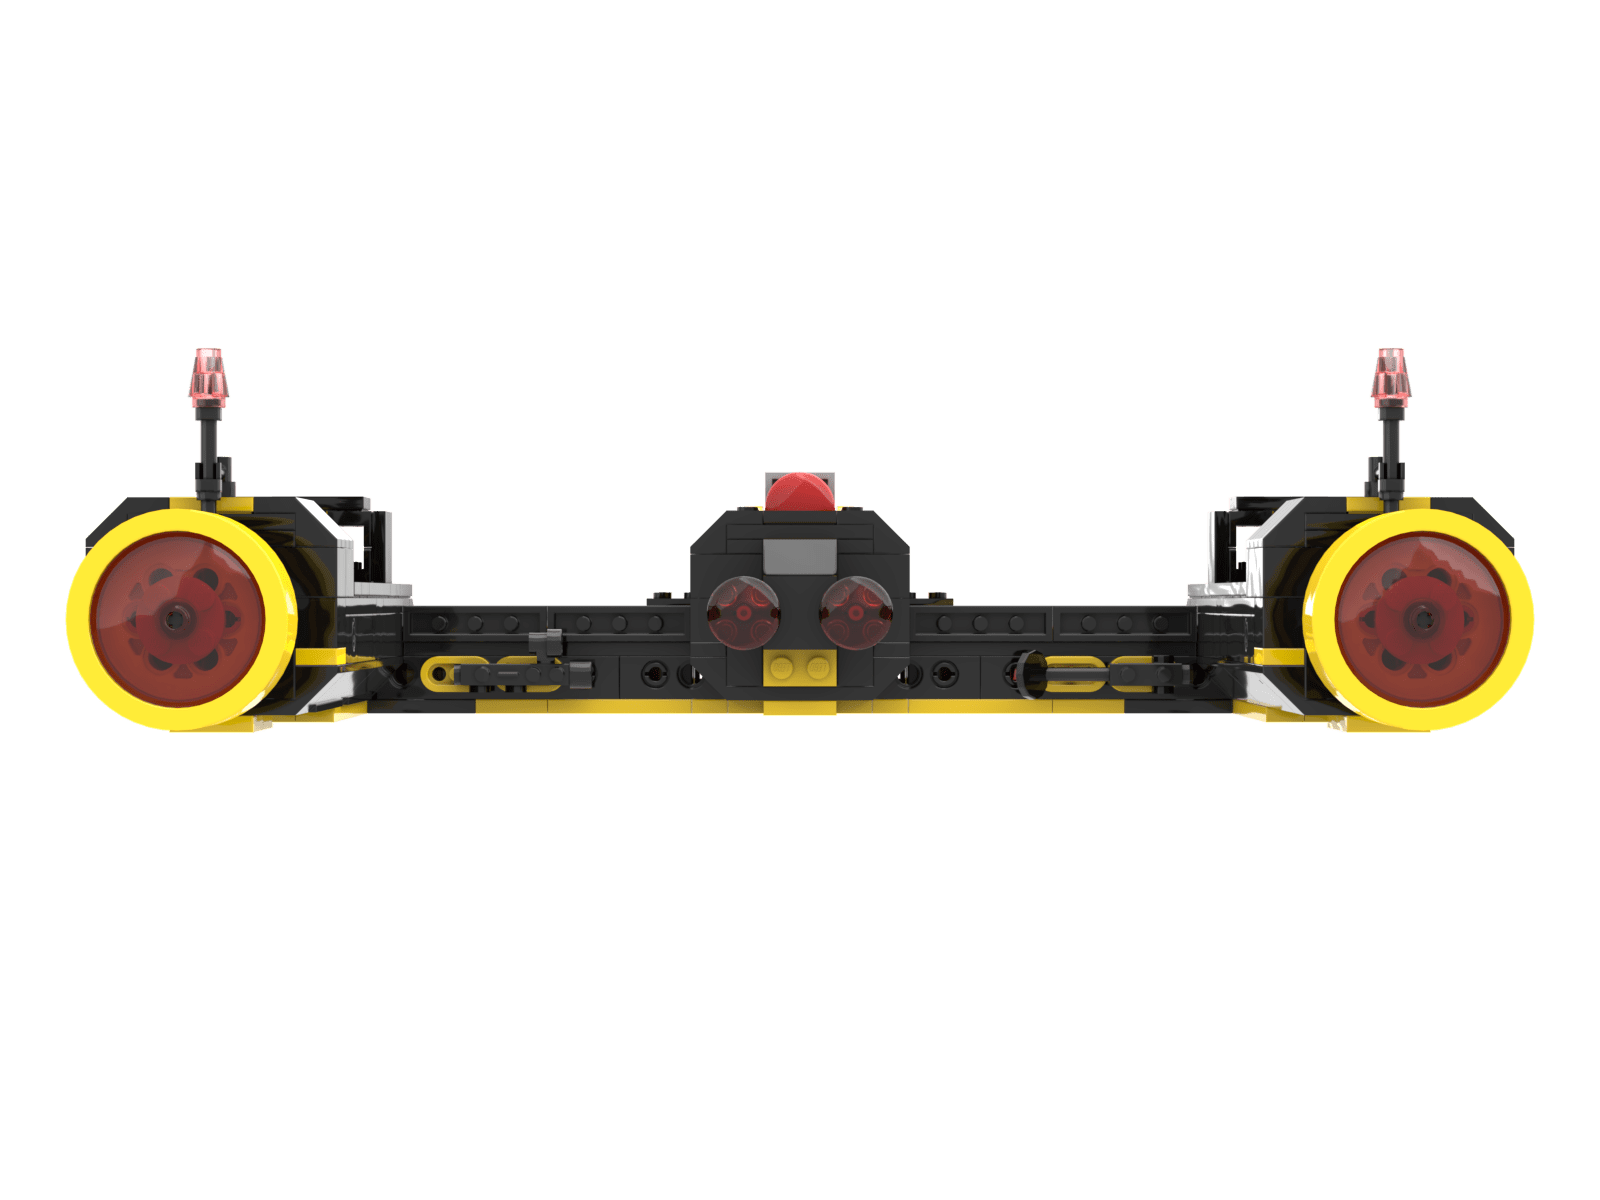
This Blacktron Y-wing, with all the modules attached, is around 52 x 27 x 8 centimetres (length X width X height). Expanding the landing gear, which is usually hidden inside of the body of the build, brings that height to around 10 centimetres.
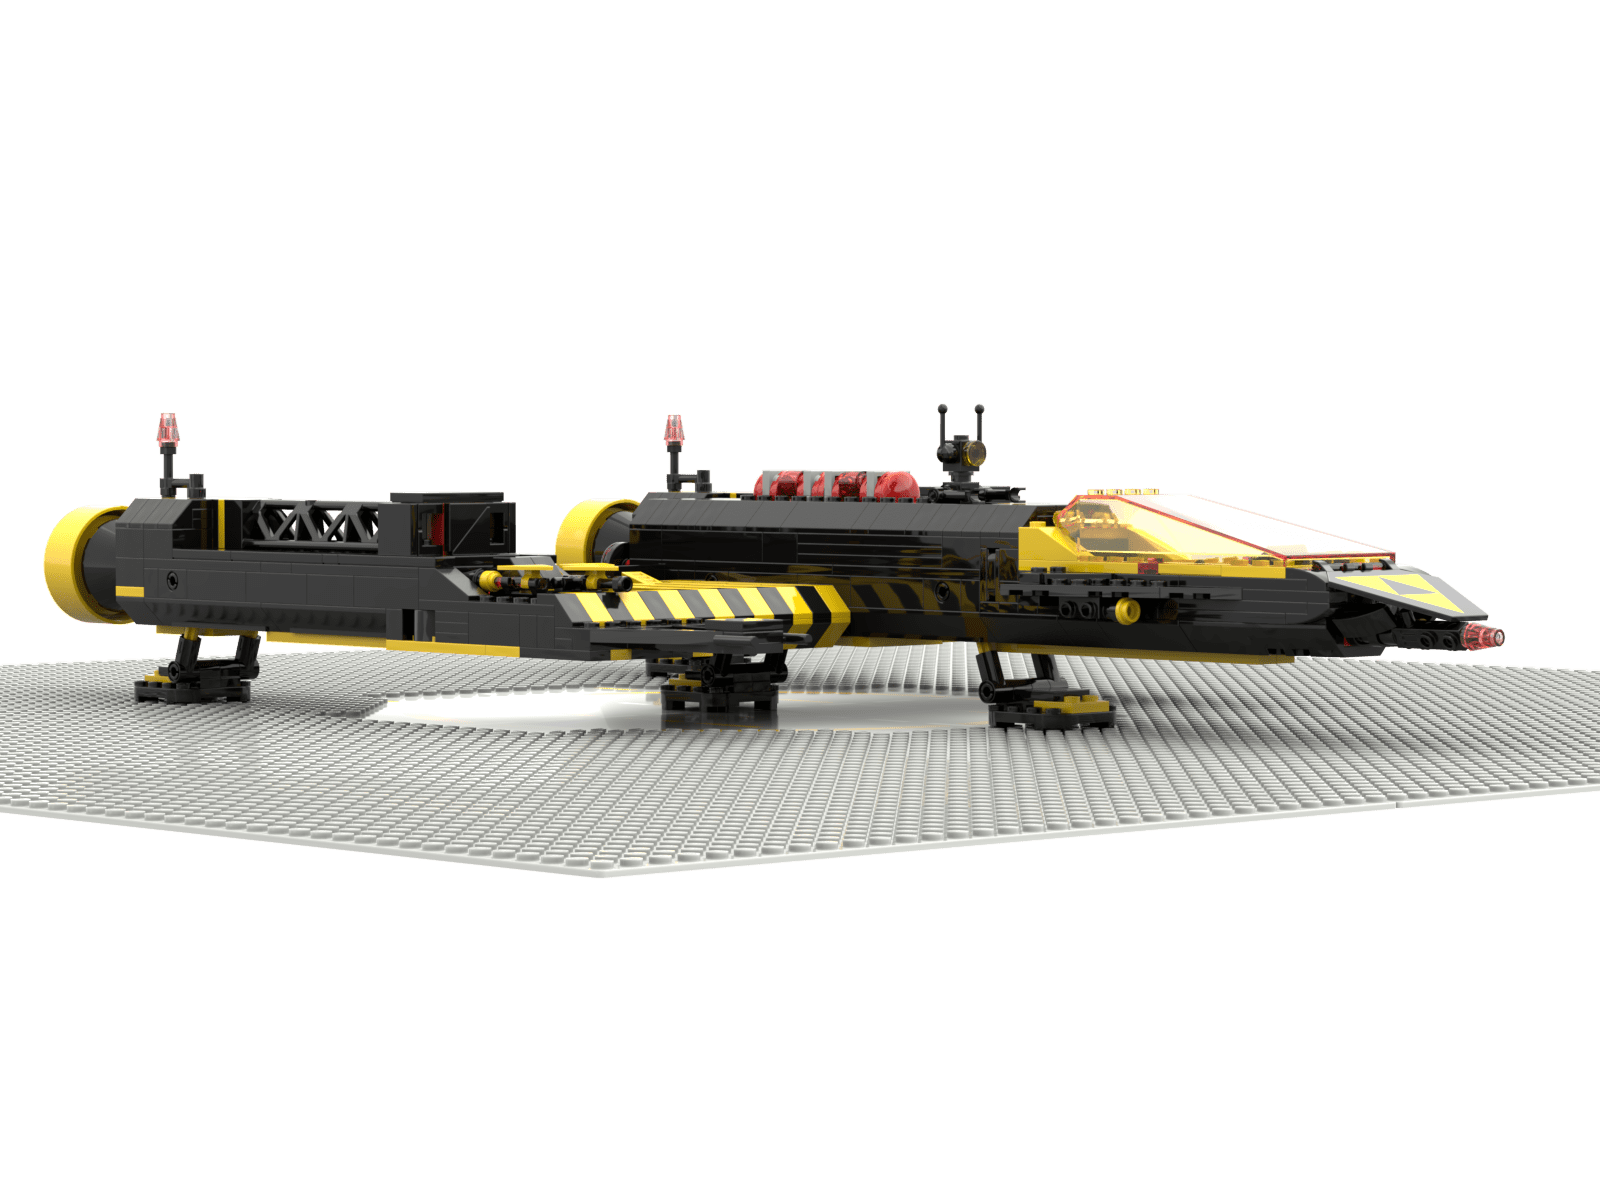
This makes the build very close in size to the last UCS Y-wing LEGO released. 75181: Y-wing Starfighter, released back in 2018, is 58.2 x 37.8 x 11.8 centimetres. You can see the Blacktron Y-wing compared to the official UCS Y-wing in this picture.
This size comes from trying to make use of the most parts of the donor set. The Blacktron Y-wing uses around 90 percent of the available pieces from the Renegade. I always try and use as many pieces from the donor set so nothing “goes to waste”.
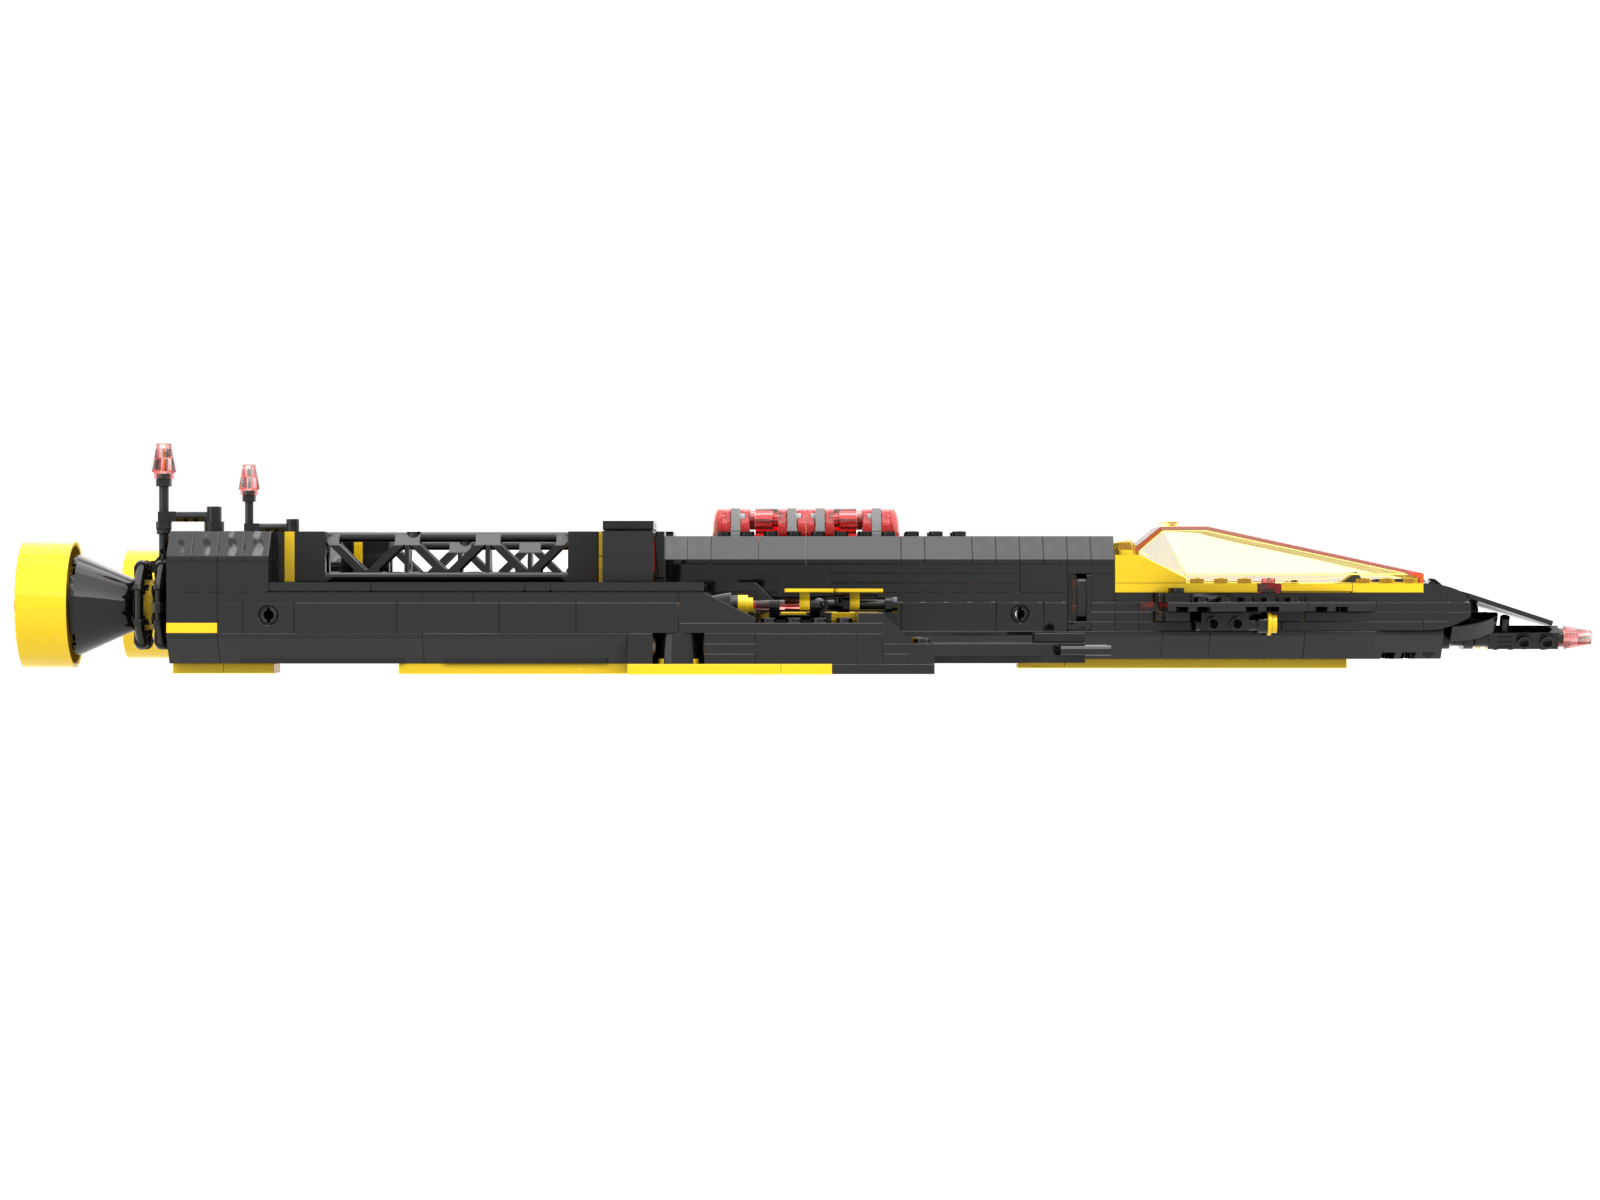
With the finished product on this page I accomplished everything I wanted with this build, with the exception of an included stand. Unfortunately, all the pieces that I had set aside for a stand were slowly incorporated into the Y-wing as it grew and needed more pieces – especially plates and Technic elements to strengthen the build.
Adding a stand also presented a problem of balance as you usually want your stand port to slot into the middle of the build. Most of the underside of the Y-wing is taken up with the retractable landing gear, so adding another open spot for a stand would have been an added challenge that may not have been possible with the available pieces.
If you enjoyed this project and this accompanying writeup, please drop a like on Rebrickable and follow us here at Hypertext on Facebook or Twitter / X for future builds. If you end up building your own Blacktron Y-wing, please upload some pictures to the public Photos section part of the Rebrickable page.

